
【Spring Cloud、Seata、Nacos】搭建Spirng Cloud项目(十):Spring Cloud使用Seata(AT) 解决分布式事务问题
·
一、环境准备
1、环境搭建,查看Spring Cloud专栏
2、seate-server运行成功,参考文章:【Seata、Nacos】Win安装Seata,并整合Nacos、【Docker】安装 Seata Server
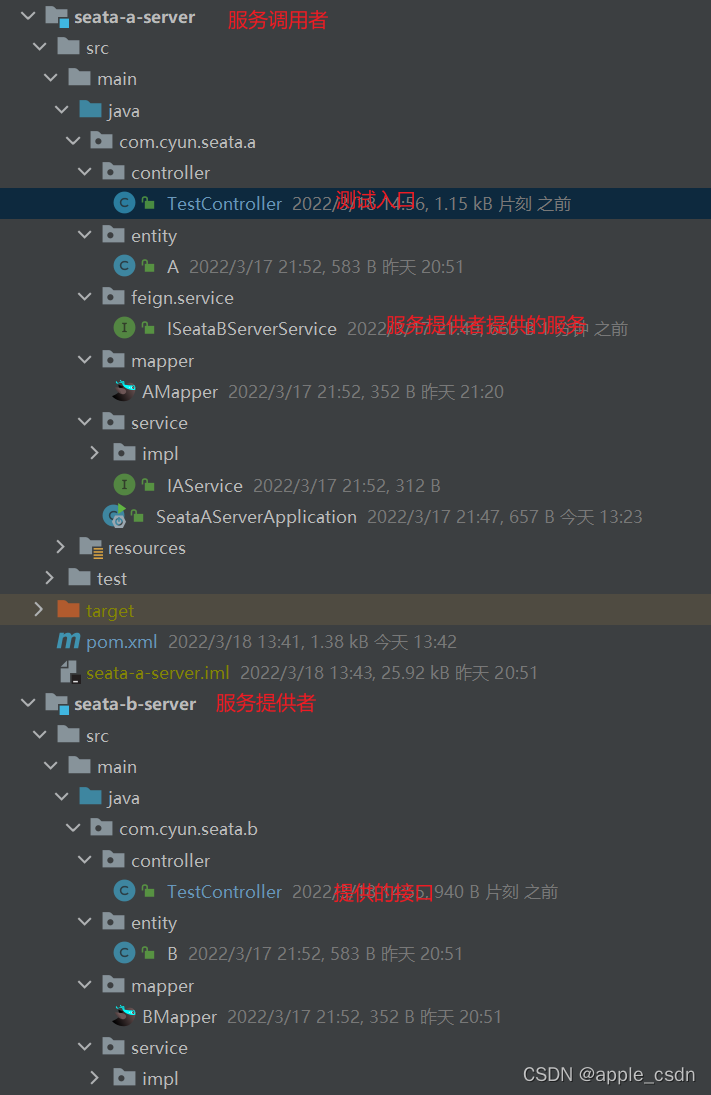
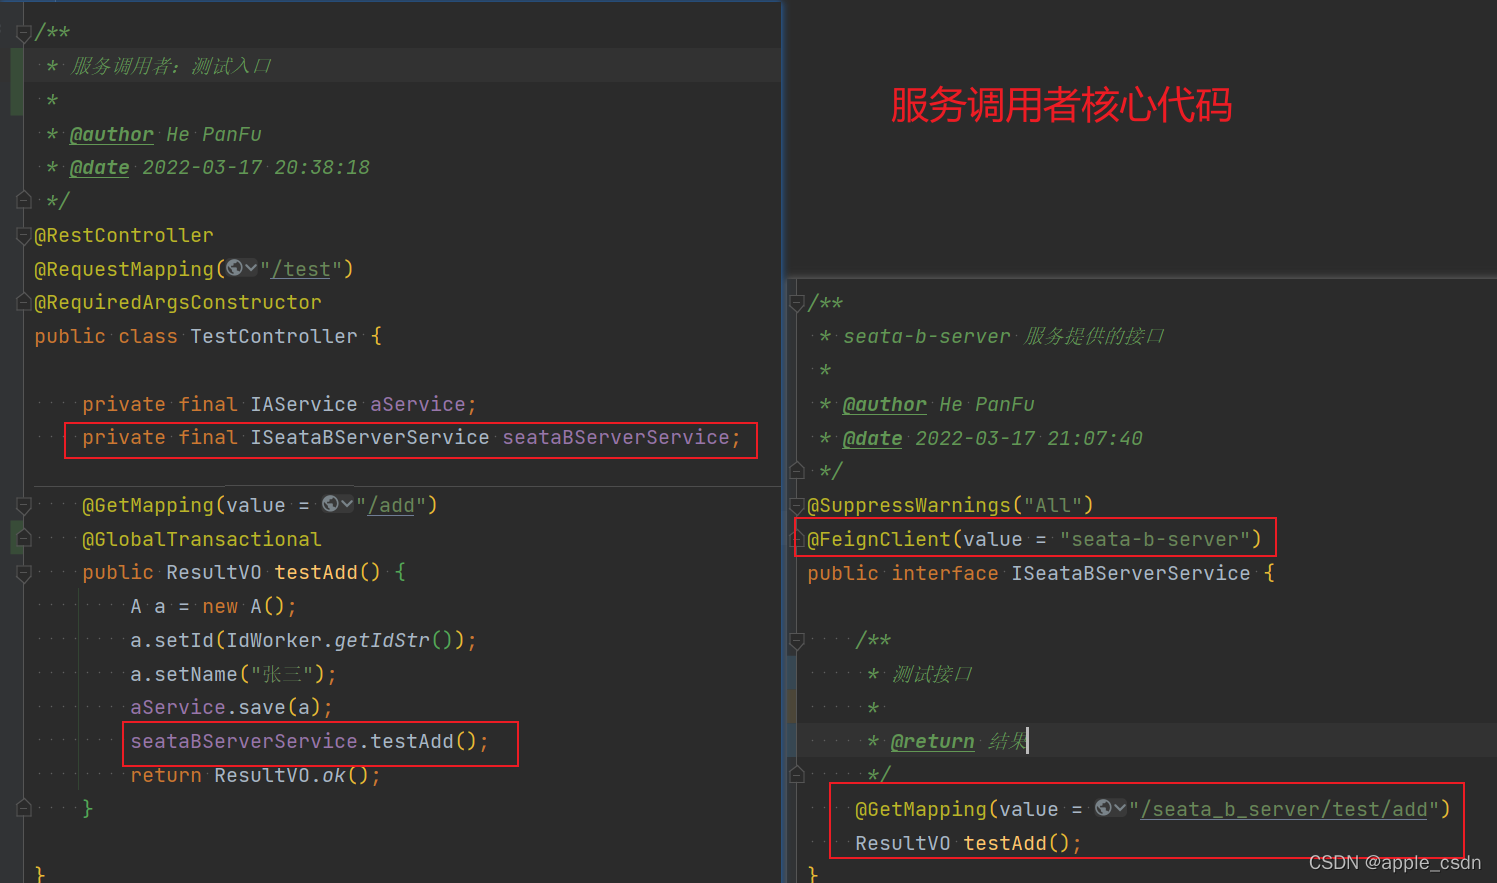
3、准备一个服务提供方(seata-b-server)的接口和服务调用方(seata-a-server)接口,本文两个服务之间调用通过OpenFegin,可参考前文。
二、服务整合Seata
介绍:pom依赖使用seata-1.4.2版本,1.4.2版本优化了Nacos中配置管理。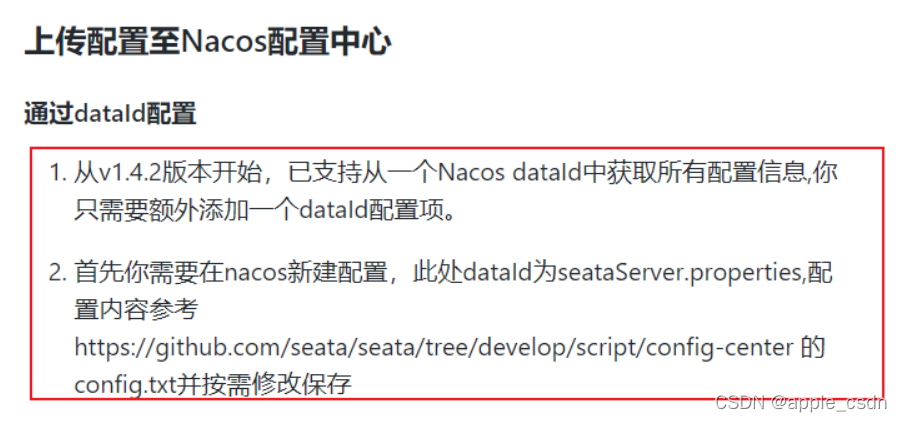
1、在数据库中创建该表
-- auto-generated definition
create table undo_log
(
    branch_id     bigint       not null comment 'branch transaction id',
    xid           varchar(128) not null comment 'global transaction id',
    context       varchar(128) not null comment 'undo_log context,such as serialization',
    rollback_info longblob     not null comment 'rollback info',
    log_status    int          not null comment '0:normal status,1:defense status',
    log_created   datetime(6)  not null comment 'create datetime',
    log_modified  datetime(6)  not null comment 'modify datetime',
    constraint ux_undo_log
        unique (xid, branch_id)
)
    comment 'AT transaction mode undo table' charset = utf8mb4;
2、引入依赖
<dependency>
            <groupId>com.alibaba.cloud</groupId>
            <artifactId>spring-cloud-starter-alibaba-seata</artifactId>
            <!--由于默认自带的版本很低,则需要手动移除,重新导入指定版本的seata -->
            <exclusions>
                <exclusion>
                    <groupId>io.seata</groupId>
                    <artifactId>seata-spring-boot-starter</artifactId>
                </exclusion>
            </exclusions>
        </dependency>
        <dependency>
            <groupId>io.seata</groupId>
            <artifactId>seata-spring-boot-starter</artifactId>
            <version>1.4.2</version>
        </dependency>
3、Seata注册中心配置,官网文章
seata:
  registry:
    type: nacos
    nacos:
      application: seata-server
      server-addr: 127.0.0.1:7001
      group: SEATA_GROUP
      namespace: seata
      cluster: default
  #      username: nacos
  #      password: nacos
4、Seata配置中心配置,官网文章
seata:
  config:
    type: nacos
    nacos:
      server-addr: 127.0.0.1:7001
      group : SEATA_GROUP
      namespace: seata
      dataId: seataServer
#      username: nacos
#      password: nacos
5、配置汇总
seata:
  # 重点:此配置需要和Nacos的配置文件中service.vgroupMapping.default_tx_group=default配置对应。tx-service-group=default_tx_group。
  tx-service-group: default_tx_group
  registry:
    type: nacos
    nacos:
      application: seata-server
      server-addr: 127.0.0.1:7001
      group: SEATA_GROUP
      namespace: seata
      cluster: default
  #      username: nacos
  #      password: nacos
  config:
    type: nacos
    nacos:
      server-addr: 127.0.0.1:7001
      group : SEATA_GROUP
      namespace: seata
      dataId: seataServer
#      username: nacos
#      password: nacos
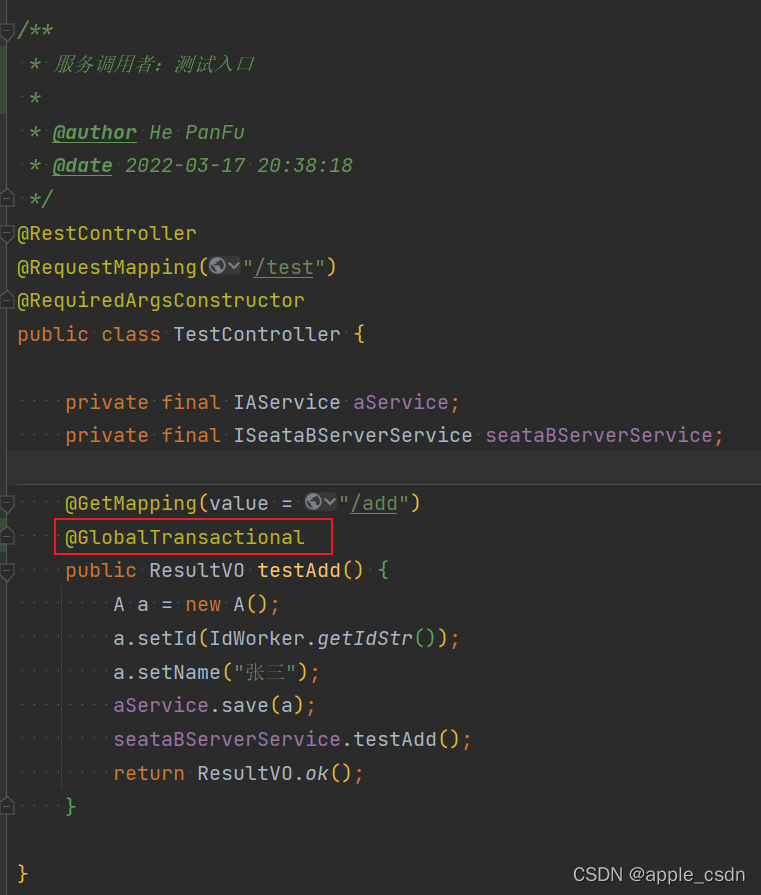
6、在事务源头的方法上使用@GlobalTransactional注解
@GlobalTransactional
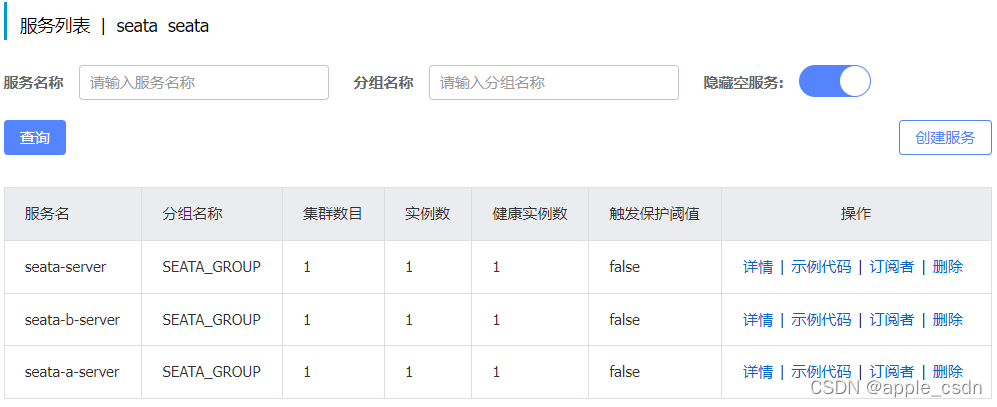
7、重启服务,在Nacos管理页面的服务列表中可以看到对应服务。
三、成功后效果
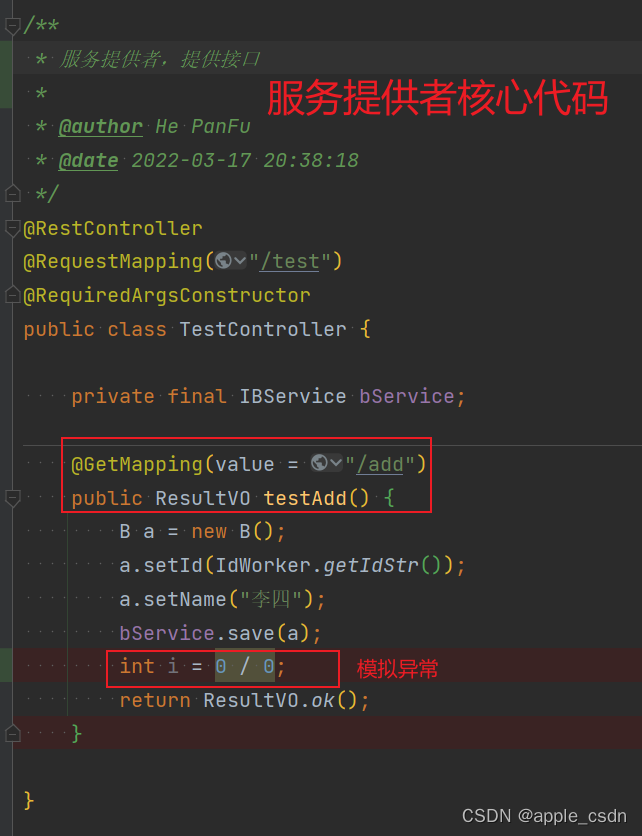
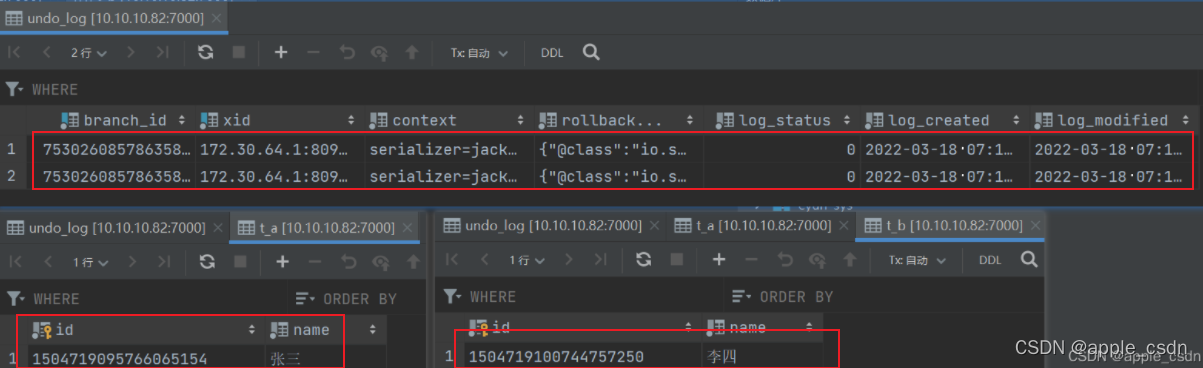
将服务提供者在异常错误前进行断点,可以看到以下效果。
-
异常前:
-
异常后:

四、问题总结
更多推荐

 0
0 0
0- 0


 已为社区贡献1条内容

所有评论(0)